Friday, December 26, 2014

Pecan Rolls: A Christmas Tradition

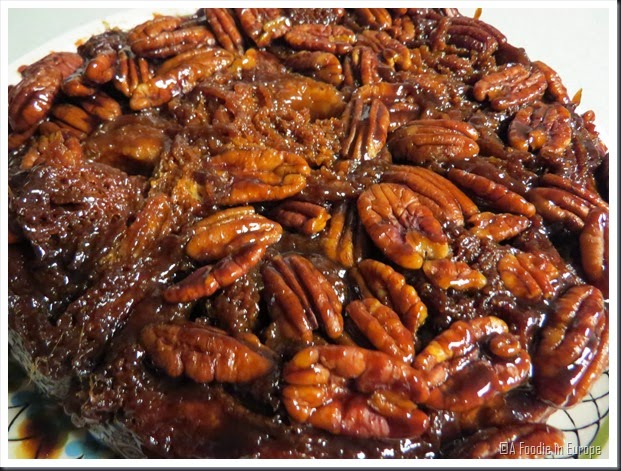
When we were kids my brother and I used to spend all Christmas eve cleaning out the bottom of the linen closet in the hallway and preparing our hideout to wait for Santa. We always fell asleep before either of us made it to the fort. Whoever woke up first would wake up the other and we would both go jump in our parents bed to wake them up. While we were opening presents my mom would put the pecan rolls she made the night before in the oven.

IMG_3243

This is how all our Christmases were until one year. We were done opening presents and all went into the kitchen for breakfast. “What do you want to eat?” my mom asked us. I’m pretty sure we all stared at her like she was joking… “Where are the pecan rolls???”. She hadn’t made them, and it felt like our Christmas was missing something.That’s how you know it’s a tradition. Smile So, now every year we make sure those rolls are on the table.

With No Plain Jane's Kitchen’s permission, I give you our family’s recipe for Pecan Sticky Rolls.
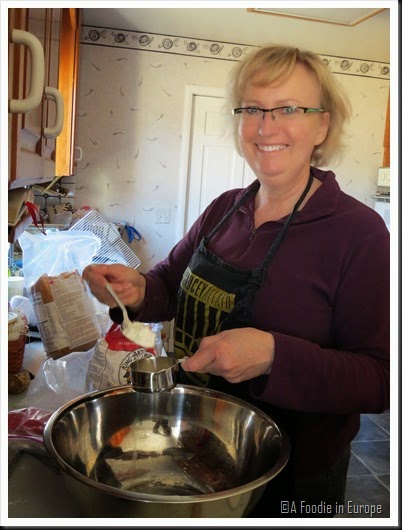
IMG_3150

Ingredients
(Dough)
  • 1 pint milk (whole milk preferred)
  • ½ cup vegetable oil
  • 1 egg
  • ½ cup sugar
  • 1 package active dry yeast, 0.25 ounce package (I used 3 teaspoons instant yeast)
  • 4 ½ cups of flour (keep the ½ cup separate)
  • ½ teaspoon baking powder
  • ½ teaspoon baking soda
  • 1 ½ teaspoon salt
(Filling)
  • 2 cups brown sugar
  • 1 cup flour
  • 2 tablespoons Cinnamon
  • 2 teaspoons Nutmeg
  • ¾ cup butter
(Topping)
  • 1 ½ cups brown sugar
  • 1 cup molasses
  • 1/3 cup butter
  • 2 cups Pecans
You’ll need to grease or spray with oil, 2 8” or 9” cake pans.

Directions:
For the dough:
In a small sauce pan, heat the milk with the sugar until the sugar melts and is incorporated into the milk. Remove the pan from the heat and add the oil and stir to mix. When the mixture is just warm to the touch, sprinkle the yeast on top. Let the mixture set a few minutes, then whisk the egg into the mixture.
Spray or wipe a large bowl with oil. Put the milk mixture into the bowl and add 4 cups of flour and stir together until combined. Cover the mixture with a clean, moist towel and set in a warm location for an hour to rise.
After the mixture rises, add the baking powder, baking soda, salt, and flour. Mix the dough to combine all of the ingredients. Cover the bowl with plastic wrap and place the dough in the refrigerator for an hour.
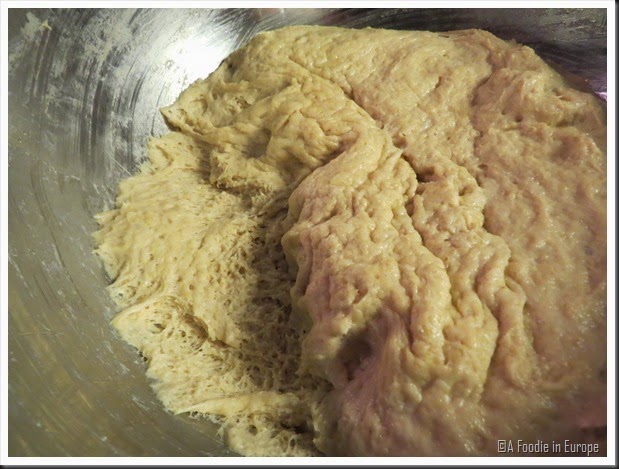
IMG_3167


For the filling:
Mix all of the filling ingredients together, by hand or with a pastry blender, so it resembles coarse crumbs. Divide the mixture in half.
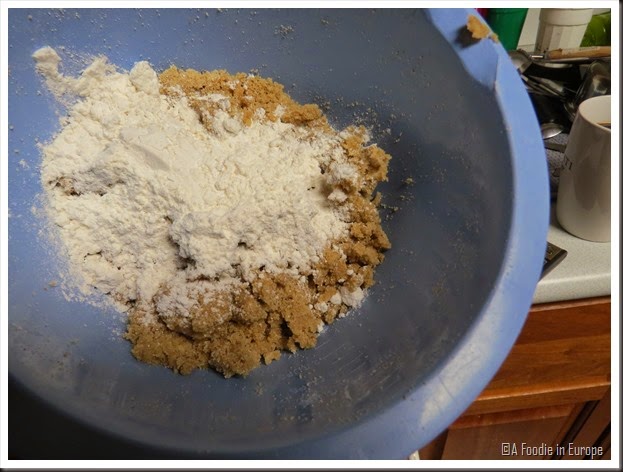
IMG_3166


To make the rolls:
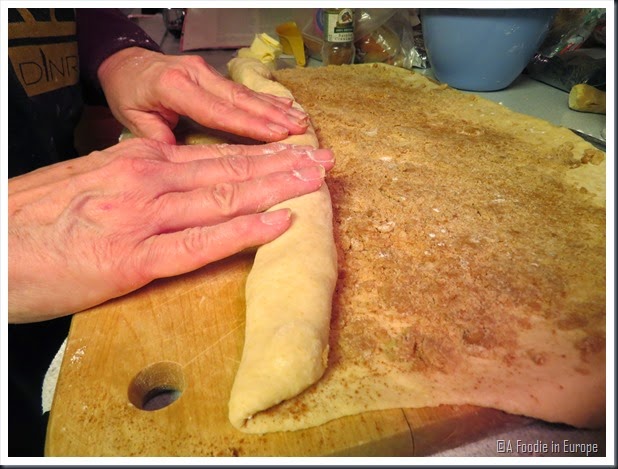
Remove the dough from the refrigerator and divide dough in half. Working with each half separately, on a lightly floured board, roll the dough out to a 18” by 12” rectangle. Sprinkle half the filling mixture on top of the rolled out dough. Press the mixture into the dough.
Roll the dough into a long log starting on the long side, the 18” side. Set the log aside while you work on the second piece of dough. When you are done, you should have 2 dough logs.
IMG_3179


For the topping:
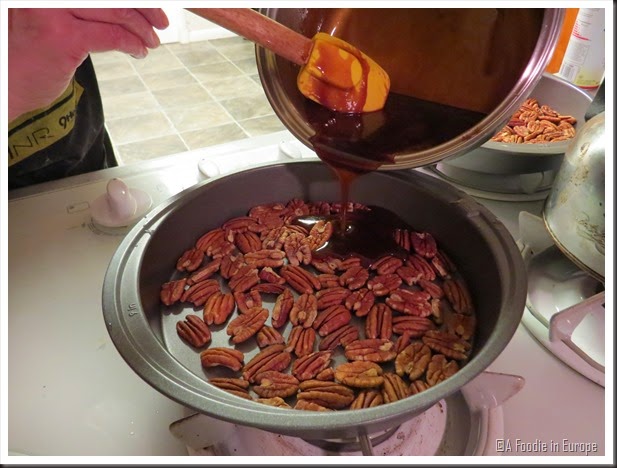
Divide the pecans between the two cake pans.
Melt the butter in a sauce pan over medium heat, add the sugar and stir until melted. Then add the molasses and stir to incorporate.
Pour the mixture over the pecans.
IMG_3187


Final assembly:
If you are going to bake the rolls right away, preheat oven to 375 f.

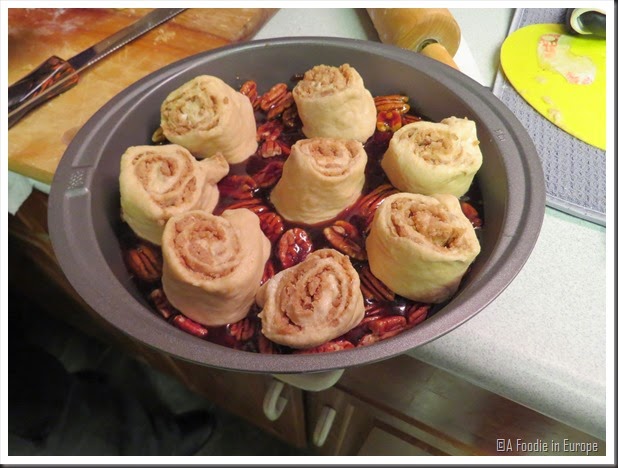
Cut the dough logs into 3” slices. You should have 5-6 slices per log. Carefully pick up each slice and place on top of the pecan topping mixture. Each pan should have 5-6 slices. Leave space between each slice so the dough can rise.
(At this point, you can wrap the pans with plastic wrap and foil and refrigerate or freeze. If you refrigerate the pans, bring them out of the refrigerator at least 15 minutes before baking. For frozen pans, take the pans out of the freezer and place in refrigerator overnight to thaw. Proceed with baking step.)
Let the pans set on the counter for 10-15 minutes to allow the rolls to rise.
IMG_3192


Baking:
Cover each pan, loosely, with aluminum foil to prevent over browning. Place pans in oven and turn temperature down to 325 f. Bake for 20-25 minutes. Remove the foil, turn up the temperature to 375 F, and bake for another 15-20 minutes. The dough should be brown on top.
Remove pans from oven, and place a plate over each pan. Immediately flip the plate to remove the rolls (be very careful doing this because the topping is very hot). Scrape any remaining topping from the pan onto the rolls. It is important to remove the rolls from the pan when they are hot. Serve and enjoy!
Wednesday, December 24, 2014

Adventures in Vegetarian Marshmallow Making

I didn’t publicize it too much, but I moved back to Colorado for awhile. Since I wont be in Spain to celebrate with my friends for Christmas I decided to send a box of homemade cookies and marshmallows to them. I had everything all set up and was about to open the packs of gelatin to get the marshmallows started when I thought…uh oh…is this gelatin made from Pork? Most of my friends in Spain don’t eat pork for various reasons so I would feel terrible sending them something that I knew had pork in it. Turns out Knox brand and all the store-brand gelatins are made from pork and beef.

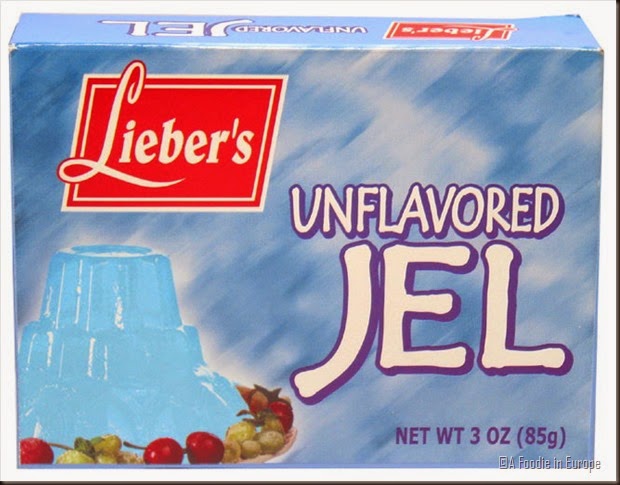
Not a problem, I thought. How hard can it be to get pork-free gelatin? After all, Denver is a great foodie town. My dad and I hopped in my car and went on what turned out to be LONG tour of Denver’s different super markets. We went to 3 Arab super markets, Whole Foods, a Kroger brand super market, Vitamin cottage and a Korean super market. No luck. While we were out driving my dad found out that there is a kosher supermarket not that far from where we live. I went there the next day and was happy to find Leiber’s Unflavored Jel which is a vegan gelatin made from a product of a chemical reaction. I had done some research which said that this stuff substitutes for regular gelatin without problems, so I bought 2 boxes and headed back to the kitchen.

Leibers jel

It did not work. At all. The marshmallows turned out like the texture of the inside of a Junior Mint and had a disgusting aftertaste. I was starting to get defeated, but I am never one to give up on something in the kitchen.

Marshmallow Fail
Marshmallow fail
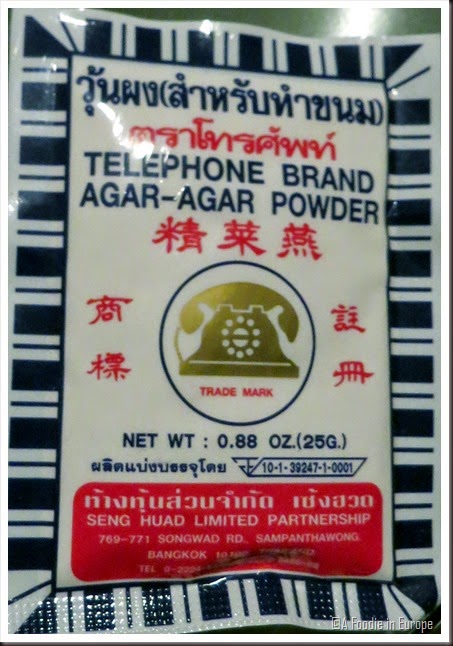
Luckily, I have been keeping up with this season of Top Chef and remembered that one of the contestants made a shrimp noodle with agar agar. Agar agar is a vegan substitute for gelatin and is made from algae. While we were at the Korean supermarket I picked up 2 packets of powdered agar agar to play around with. Get your Agar Agar Here.

Agar Agar

Once the Leiber’s marshmallows failed miserably I started looking for a recipe for agar agar marshmallows. Again, this turned out to be way harder than I thought. Don’t get me wrong, there are many bloggers with recipes for them. Only one of them has a recipe that works.
First, I will tell you all the ones that didn’t work.

University of Indiana: Vegetarian Marshmallows
Inhabitots: Vegan Marshmallows
Oh My Sweetie Pie: Vegan Marshmallows
Vegetarian.Lovetoknow: Vegan Marshmallows

Yes…I did try all of those. Side note to all of you recipe hunters: If you are going to try a recipe off a blog, make sure you read the comments. If the recipe doesn’t work, you’d better believe the readers will let the blog writer know.

At this point I was about ready to give up, but while on hold to sign up for health insurance I came across an interesting website that said vegan marshmallows usually don’t work because they need some sort of strong protein (ie. animal protein) to hold them together. This explains why none of the recipes listed above worked.

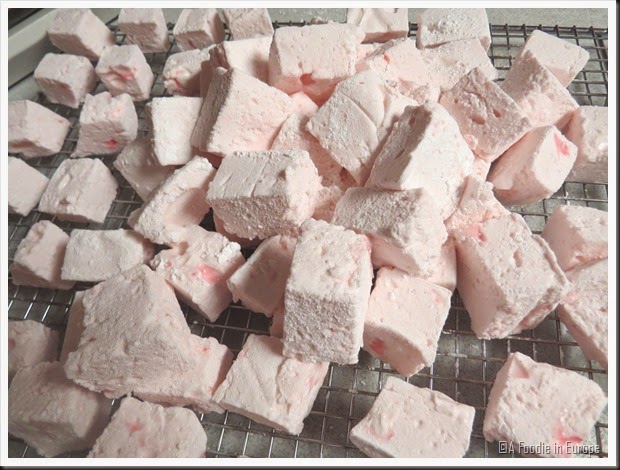
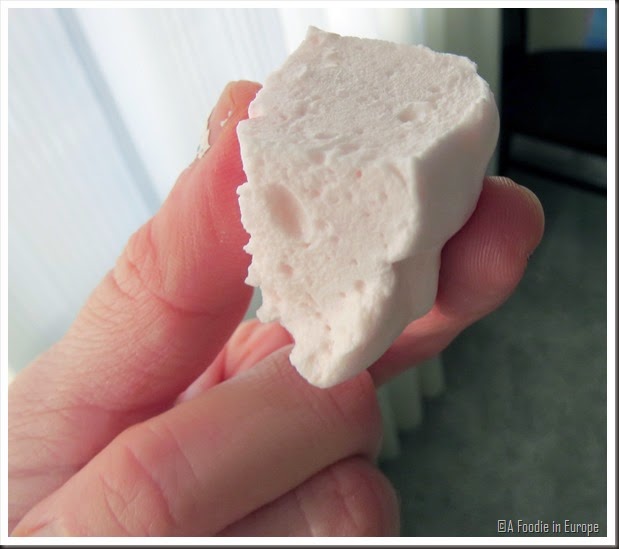
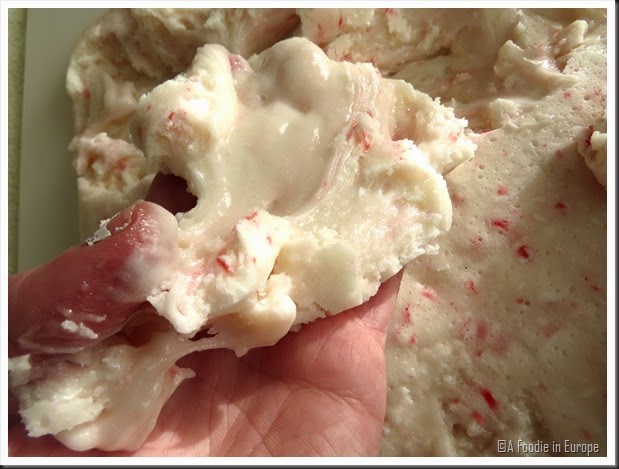
Deep in the pages of Google I came across the blog Be Miam and her recipe for Agar Agar Marshmallows. To make up for the lack of animal protein she uses egg whites. I was so happy to find out that based on the comments, her marshmallows actually worked! And they did!!!! These marshmallows turn out a little more dense and less squishy than normal marshmallows, but considering how many failures I had before I was unbelievably excited to finally have a recipe that works! Thanks Miam. Smile

Marshmallow pile

Marshmallow

Agar Agar Marshmallows from Be Miam Christmas-ified by me
Note: These marshmallows don’t do well in hot chocolate.

Ingredients:
3 egg whites or vegan egg substitute
8.82 ounces Sugar
3.38 fl.oz water
1 Tbs Honey
1 Tsp Agar Agar Powder
1 cup crushed peppermint candies
Powdered sugar for dusting (about 1 cup)

Directions:
  • Grease a 4x4 baking dish and line with parchment paper. Brush the parchment paper with cooking oil.
  • While preparing the rest of your ingredients, dissolve the agar agar in 100ml of cold water.
  • In a small sauce pan, boil the sugar, honey and agar agar until it reaches 250 F on a candy thermometer.
  • Whisk egg whites in an electric mixer until they are very firm. You should be able to take out the whisk and have the egg whites stand up in peaks.
  • When the sugar mixture reaches 250 F, lower the mixer to a slower speed (so the hot syrup won’t splash out and burn you) and slowly pour in the syrup mixture.
  • Once all the syrup is in, raise the speed to high and mix until the syrup is incorporated.
  • Add the candies and mix until they are blended in.
  • Pour the mixture into the prepared baking dish and let dry for at least 10 hours.
  • Once the marshmallows are dry, unmold them and cut to your desired size.
  • Roll the marshmallows in powdered sugar and enjoy!
Friday, October 31, 2014

5 Places I Want to Revisit


5 places I would revisit
Recognize any of them?

Thanks to Who Needs Maps for nominating me to do this little challenge. I enjoyed reading your list! This is something that I think about ALL the time. I think most travelers do. It is difficult to narrow my list down to 5 but here we go:

5. Austria

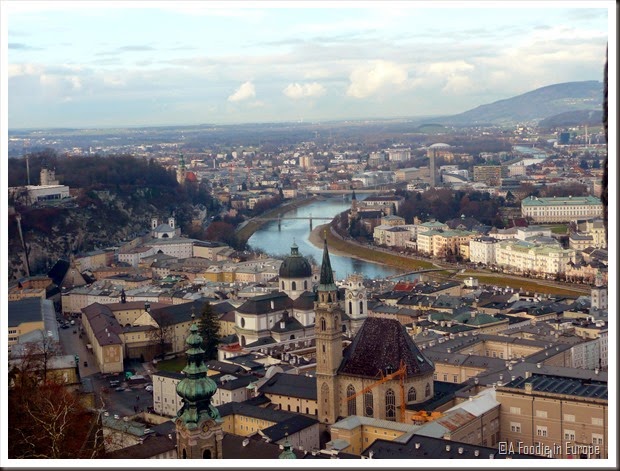
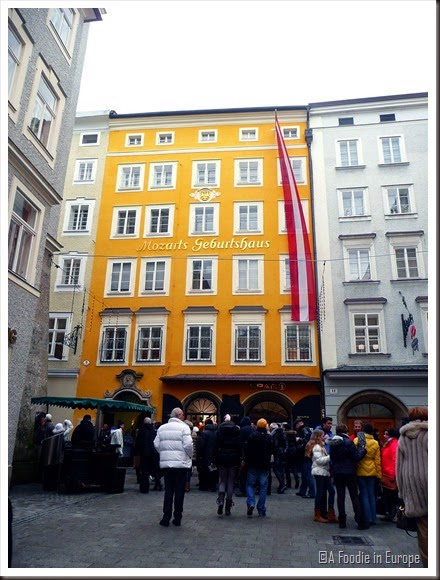
While on vacation in Munich, Germany we went on a day trip to Salzburg, Austria so I could be a classical music nerd and see where Mozart was born. This town blew my mind with how beautiful it is. I would love to spend more time in Salzburg and time traveling around the rest of Austria.

Salzburg from Castle
View of the town from the castle
Mozart House
Mozart House

4. Krakow, Poland

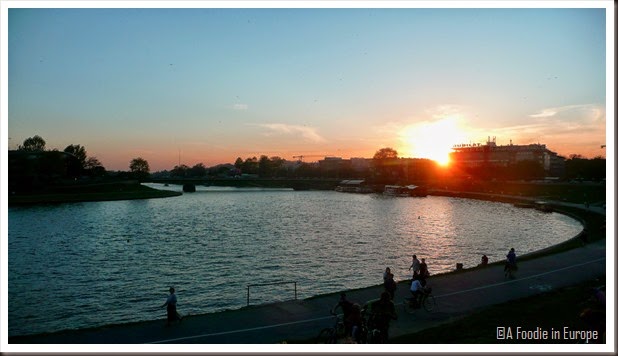
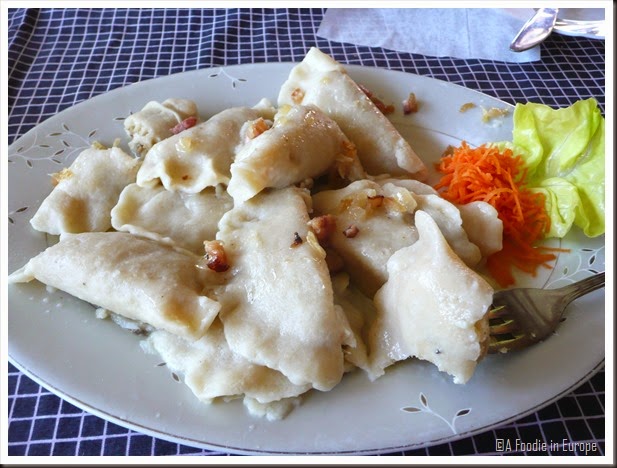
Poland has always been a country that I had been interested in visiting. I was really excited when some friends that I met on a trip to Morocco asked me to go to Krakow with them. Out of all the places I have traveled to this is still one of my favorite ones. Krakow is a really relaxing city with great architecture, history, food and people. I would love to go back.

Krakow fire breathing dragon
Fire breathing dragon statue
Krakow Sunset River
Sunset on the river
poland perogies
Perogies yum!

3. Brussels, Belgium

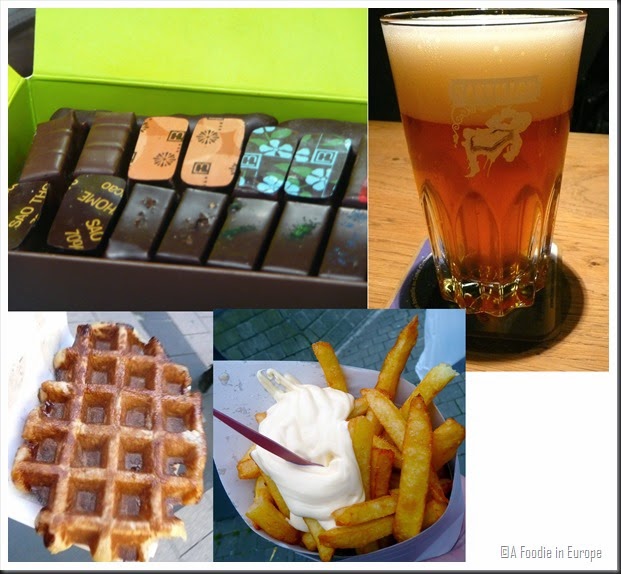
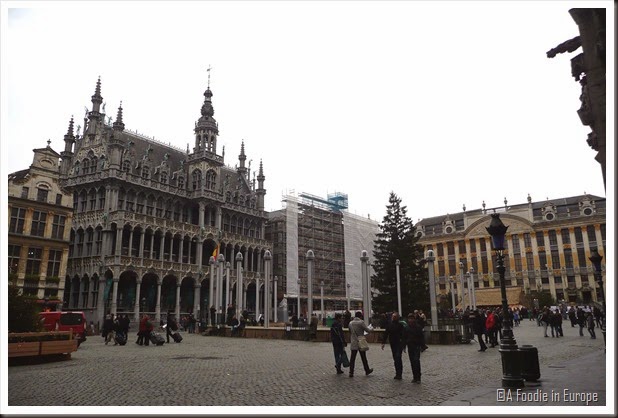
Some cities in Europe have a map targeted at young people that has travel tips from locals. We picked up one of these from the airport and it really surprised me that more than one person said that Brussels is a very ugly city. uh….no! I thought this city was really cool! The main square is gorgeous. This is a very walkable city  and there is so much to see and do. PLUS this country is known for chocolate, french fries, waffles and beer. What more could you ask for?

Brussels food
fattening heaven
Brussels Main Square
Main square

2. Morocco

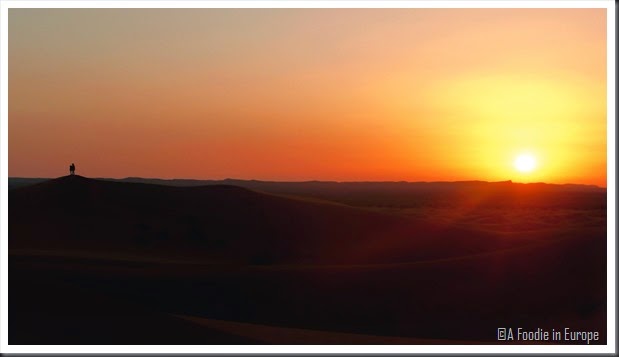
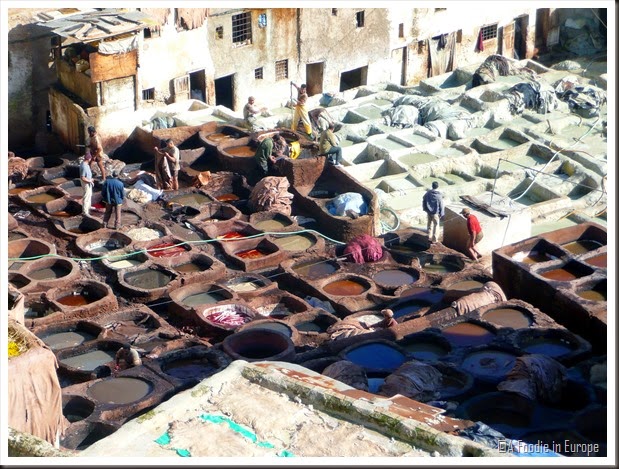
After traveling in Europe it was nice to get a change of pace and see a country that is totally different from what I was used to. I went on a 5 day trip to Morocco and loved every minute of it. Since I went with a tour group I got to see a lot of places and stay in some really nice hotels. The highlight was camping in the Sahara Desert. If I could go back to Morocco again I would start in Casa Blanca and see where else I ended up. And hopefully get a chance to practice my (very low level) Arabic, إن شاء الله

edited sunrise
Sunrise in the Sahara Desert
Morocco Leather Tannery
Leather tannery

1. West Bank, Palestine

One of the most interesting and eye-opening trips I have ever taken. There is so much history and politics packed into this little place. I was in Bethlehem for Christmas in 2012 and was able to see some of the most famous religious sites of the 3 main monotheistic religions. I’m not religious at all, but even for me it was really cool! The food is amazing and the people are warm and welcoming. I would hop on a plane back to Palestine in a heart beat.

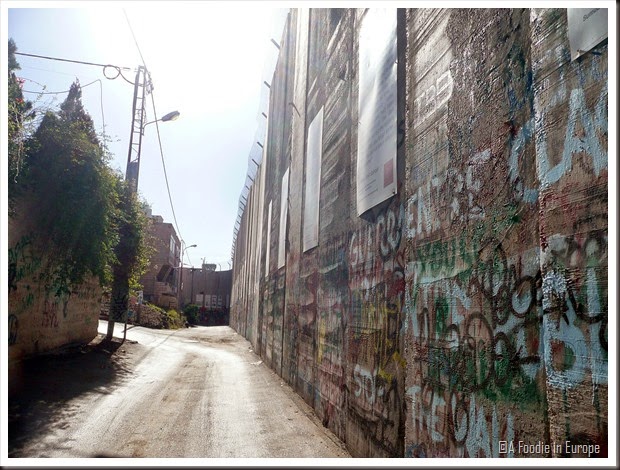
Apartheid Wall
Apartheid wall outside Bethlehem
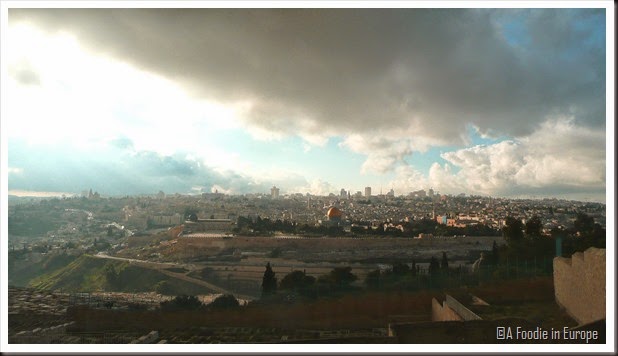
Jerusalem
Jerusalem
hiking
Hiking in a valley between Bethlehem and Jericho
Now for the fun part! I am nominating…
Venga, Vale, Vamos
Itsy Bitsy Planet
A Brit and a Southerner
She Dreams of Travel
Wife With Baggage
I’m excited to see what you guys write! Booked.net - Top Destinations to Go There

Thursday, October 23, 2014

Street Art in Valencia

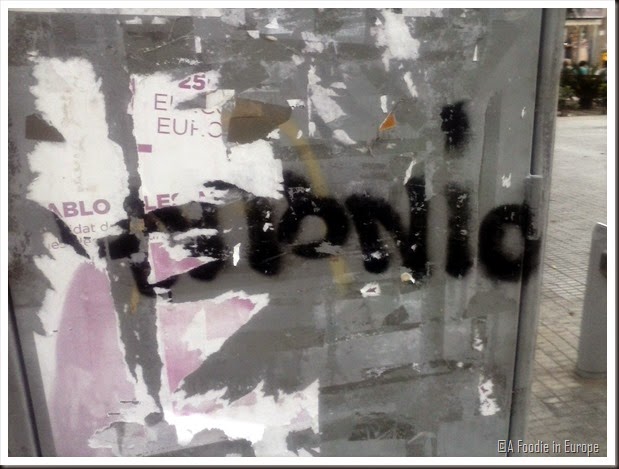
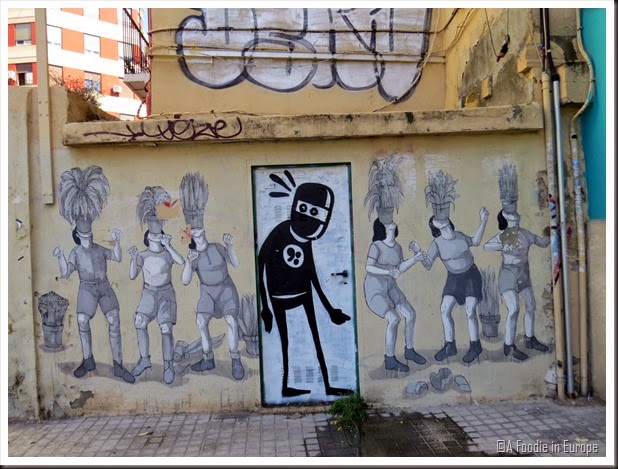
One of the things that really surprised me when I first got to Spain is how much graffiti is on EVERYTHING here. Historical buildings and regular buildings are not spared from the spray paint. When a friend came to visit me my first year she kept asking why they didn’t clean it up. I don’t know the answer for sure….but knowing the mentality of the Spaniards I’m making an educated guess that they don’t think it’s worth the time and money to clean it up because it will be back up in no time.
Graffiti
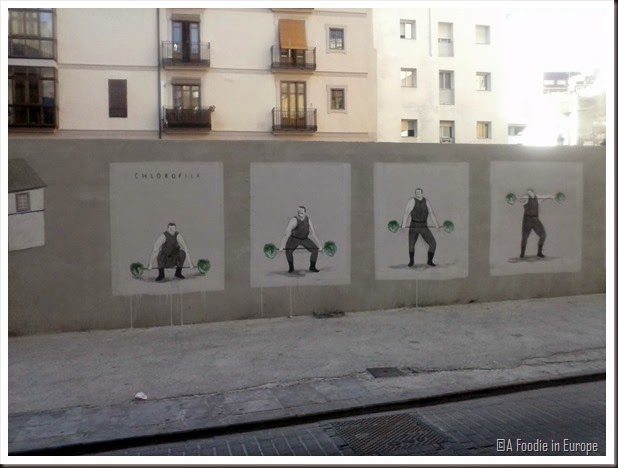
This is graffiti. What is below is art.
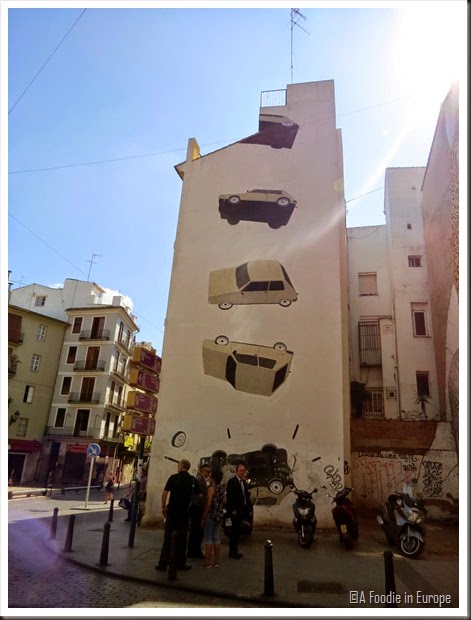
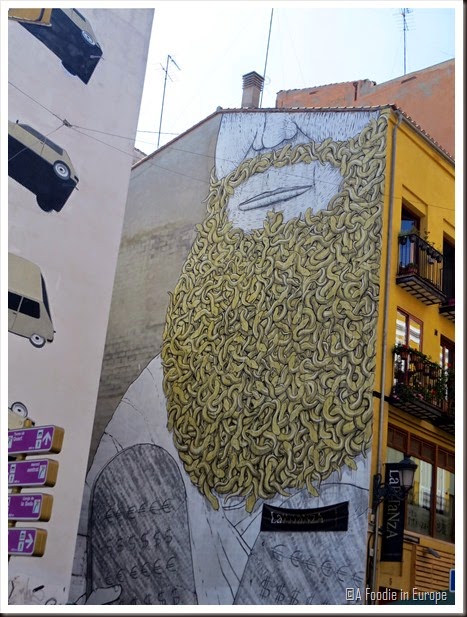
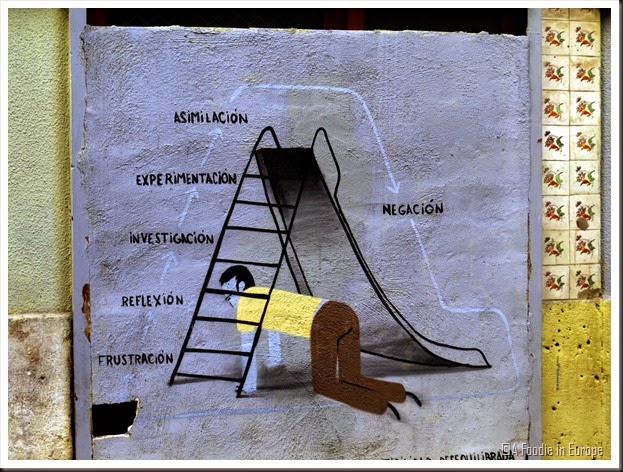
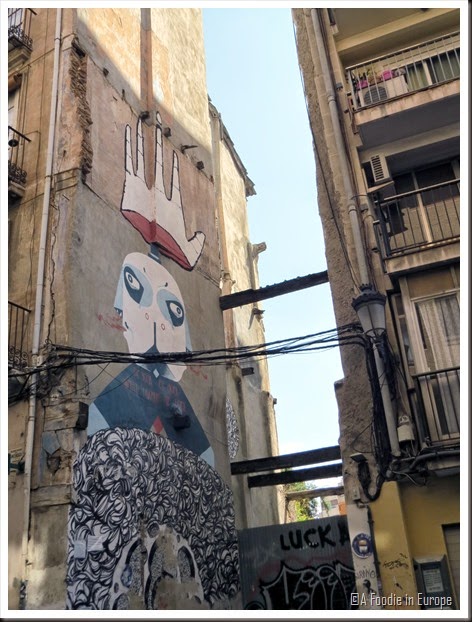
There is a bright side to this though. Street art! Valencia has a few artists that can be seen all over the city. Some are whole walls of buildings and some are hidden, but they are definitely something fun to keep your eye out for as you walk around the city.
Street Art 1

Street Art 2

Street Art 3

Street Art 4

Street Art 5

Street Art 6

Street Art 8

Street Art 9

Street Art 10

Street Art 11

Street Art 12

Street Art 13

Street Art 14

Street Art 15

Street Art 16

Street Art 19

Street Art 20

Wednesday, October 1, 2014

The Only Drink You Need for Summer in Spain

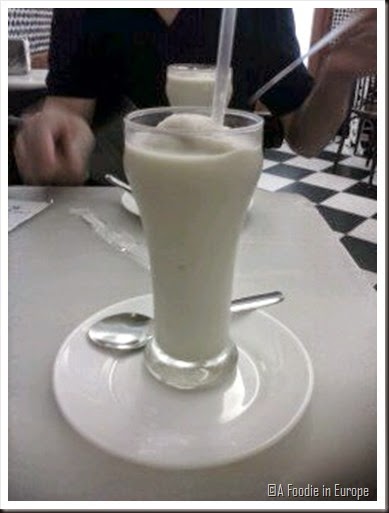
Horchata can be found throughout the world made with different ingredients. The one that the Spanish enjoy is made from the Chufa or Tigernut. They have known about this nut for more than 3,000 years. The origin is from Central and Northern Africa and it is said that the nut was brought to Spain in the 8th century by the Arabs, who used the nut to make horchata for special occasions. Now, the nut flourishes in Southern and Eastern Spain as well as Northern Morocco. It is planted in April and May and harvested in November.

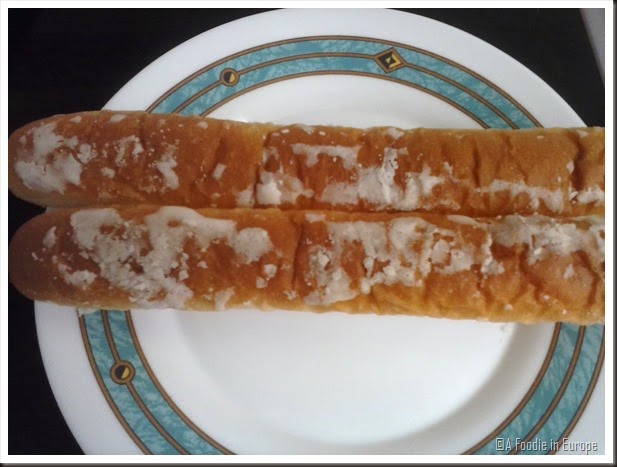
Horchata is most common in the Comunidad Valenciana. Before refrigeration was common, horchata was made in the mountains surrounding Valencia and stored in snow to keep it cold as it was brought down to sell in the city. Now a days, you can find horchata in almost every bar, and even in carts specifically selling the drink on the street. It is the perfect summer drink because it is cold and refreshing. It comes in liquid form, or my favorite, icy form. Horchata is traditionally pared with a sweet, tube shaped pastry called a Farton which is usually dunked into the drink before being eaten. Many of Spain’s Chufas are grown in a town called Alboraya near Valencia. Here you can spend a day on a Horchata tour learning about how the nut is farmed and even take a class on how to make the drink before trying some of the freshest horchata de chufa in all of Spain.

horchata

Horchata is a surprisingly healthy drink. Since it is made with nuts, it has a lot of protein. It also has a high content of potassium, calcium, phosphorus, complex carbohydrates and vitamins E and C. Many people who are lactose intolerant use horchata as a substitute for milk.

horchata to go

Even if you are not planning a trip to Spain anytime soon you can make horchata at home. Believe it or not it is very easy! All you need is some tigernuts, water, sugar, a cinnamon stick and lemon zest. It takes some time for the flavors to blend together but it is well worth the wait! Order some here if you aren’t in Spain.
fartones

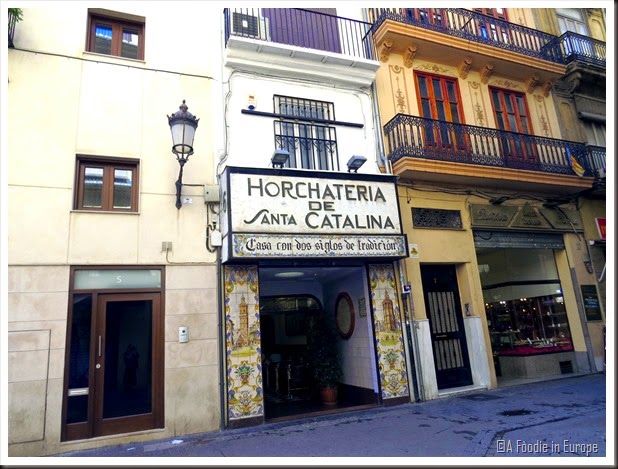
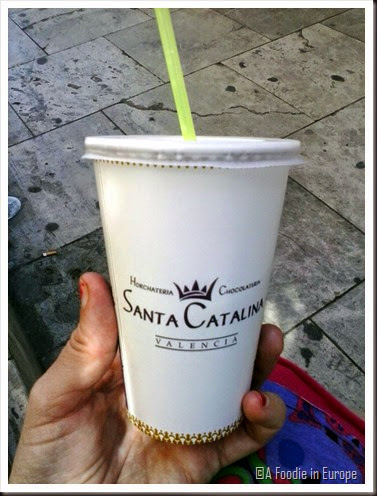
There are many places in Valencia to get authentic homemade horchata. My favorite just happens to be the oldest in the city. Horchateria Santa Catalina is just off the Plaza de la Reina near the Santa Catalina Church. The shop is inside an old house that says it has “more than 200 years of tradition.” Inside you can see some beautiful architecture and great examples of ceramic tiles that are traditional in Valencia. Oh, and the horchata is pretty good too!

horchateria santa catalina

You can hear me read a shorter version of this post and learn some other cool things about Valencia on The Spain Uncovered Podcast.

Wednesday, September 17, 2014

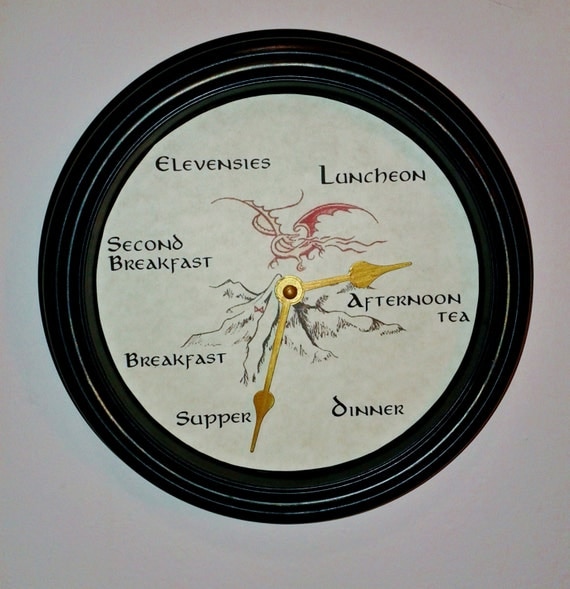
Spain’s (Secret) Hobbit-inspired Meals

Spains hobbit meals

Flashback to high school Spanish class…pictures of breakfast, lunch, and dinner foods are on the overhead projector (I’m feeling old now!) and we are playing Mata Moscas to see if our class can win a fiesta day (AKA a class where we pig out on chips) after we finish our next exam. I remember this unit very clearly (probably because it was about food!) We were taught that breakfast is called  el desayuno, lunch is el almuerzo and dinner is la cena. And that’s it. Needless to say, we totally won that fiesta day. How could we not when we had only 3 meals to remember?

Imagine my surprise (read: delight) when I arrived in Spain and found out that there are two secret meals that we never learned about, leading me to the conclusion…

…the Spanish eat like hobbits.


Here is a little cheat sheet to help you know what and when to eat. Note: These are from my experiences. I am sure that other parts of Spain have slightly different variations.
 
Breakfast (desayuno): This is the first meal of the day, eaten right after you wake up. Usually, something light is eaten like coffee or tea with cookies, a pastry or toast.
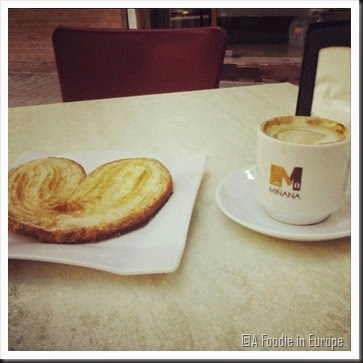
My pick: A café con leche and a croissant or palmera
Palmera and coffee

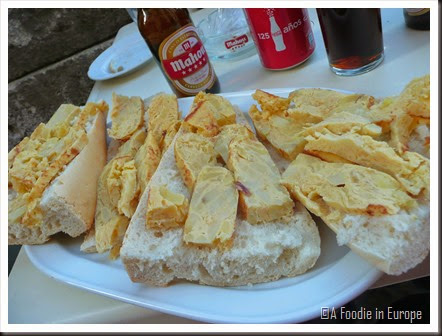
Second Breakfast (almuerzo): Usually eaten between 10am-12pm.  From my experiences, sandwiches are the most popular. A lot of restaurants will have offers for half or full almuerzos for 3,5 and 5 euros respectively. These include a beer, soda, or coffee and a cheese, ham, tuna or tortilla sandwich.
My pick: Coca-cola with a tortilla sandwich
tortilla sandwich
Lunch (la Comida): This is where you get your money’s worth! It’s usually eaten between 1-3pm Eating at a restaurant for la comida will give you a ton of food. I’m talking a 3 course meal plus a drink for anywhere between 6-18 euros!
My pick (menus change daily, but these are my favorite combinations): drink: Fanta Naranja 1st course: salad or gazpacho 2nd course: vegetable paella 3rd course: flan or coffee
Veggie Paella
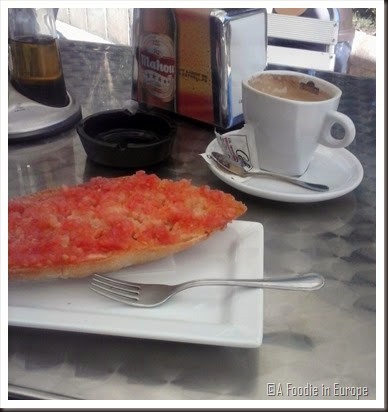
Afternoon Tea (Merienda): Merienda is similar to breakfast. It is usually something light to tide you over until dinner. At restaurants you can often see them advertising the same offers for desayuno and merienda. Usually Merienda is eaten between 5-7pm.
My pick: Tomato toast with a café con leche
Tomato Toast
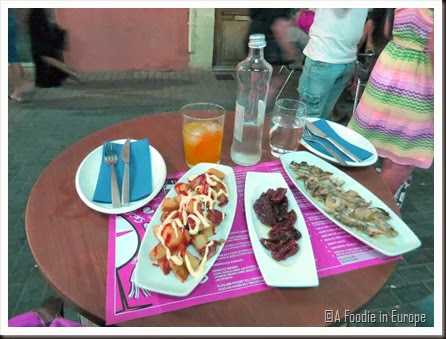
Dinner (la cena): La Cena can go on for 3 or more hours here! Usually it starts around 9pm and goes until 12am or later. This is the meal that probably most widely varies in all of Spain. My favorite dinner activity in Almeria was tapeando with my friends, where we would spend hours restaurant hopping. 
My pick: berenjenas con miel, pimientos de padron, and patatas bravas and vino…lot’s of vino.
tapa dinner
So, the Spaniard’s don’t have quite as many meals as the hobbits. But, who knows? There might be a few other secret ones I haven’t discovered yet!

Want your very own hobbit clock?
Click here to get a personalized one!